
Design
AI Exploded View Image Generator
Generate exploded-view images that separate an object into visible layers. Explore product teardowns, cutaways and component illustration prompts.
Start creatingA starter prompt is ready in the generator. Make it your own.
Prompt
Create an exploded-view illustration of a compact mechanical wristwatch. Separate the glass, dial, hands, movement, case and back along one vertical axis, keeping their centers aligned. Use a clean pale-gray studio background, realistic brushed steel, readable spacing and restrained shadows. Add short labels only for the named parts. Present a conceptual product illustration rather than a dimensioned engineering drawing.
View full promptCollapse prompt
Create an exploded-view illustration of a compact mechanical wristwatch. Separate the glass, dial, hands, movement, case and back along one vertical axis, keeping their centers aligned. Use a clean pale-gray studio background, realistic brushed steel, readable spacing and restrained shadows. Add short labels only for the named parts. Present a conceptual product illustration rather than a dimensioned engineering drawing.
Make it your own
Exploded views help explain how a product is arranged by showing its parts apart but aligned. A camera, watch or household object needs a different separation axis and level of detail. Choose a reference that matches the object you want to explain, then specify which components matter.
Explore prompts and examples
22 examples. Open an image to see its original prompt, then create your own version.
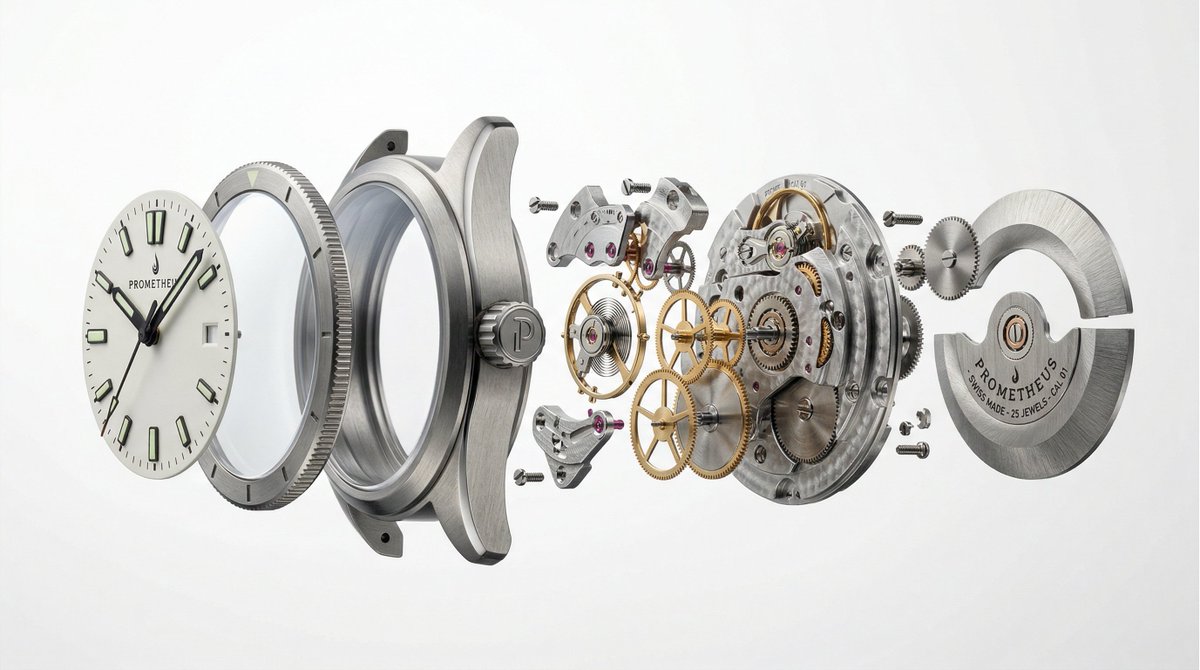 Exploded Watch Product Shot
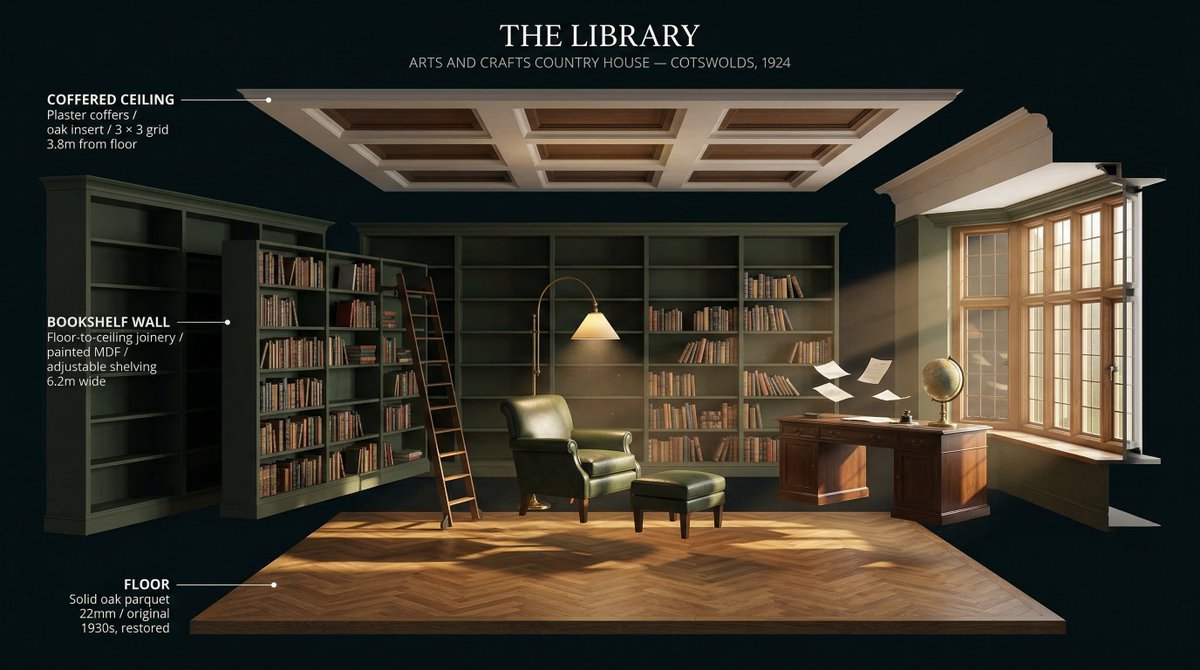 Exploded Library Room Diagram
 Exploded Quinoa Burger Ad
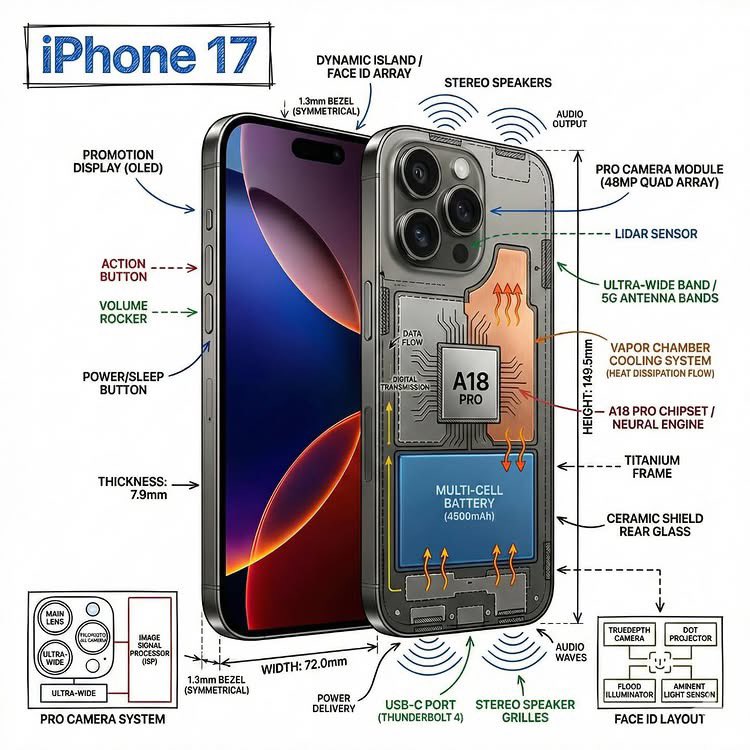 Annotated Product Cutaway Infographic
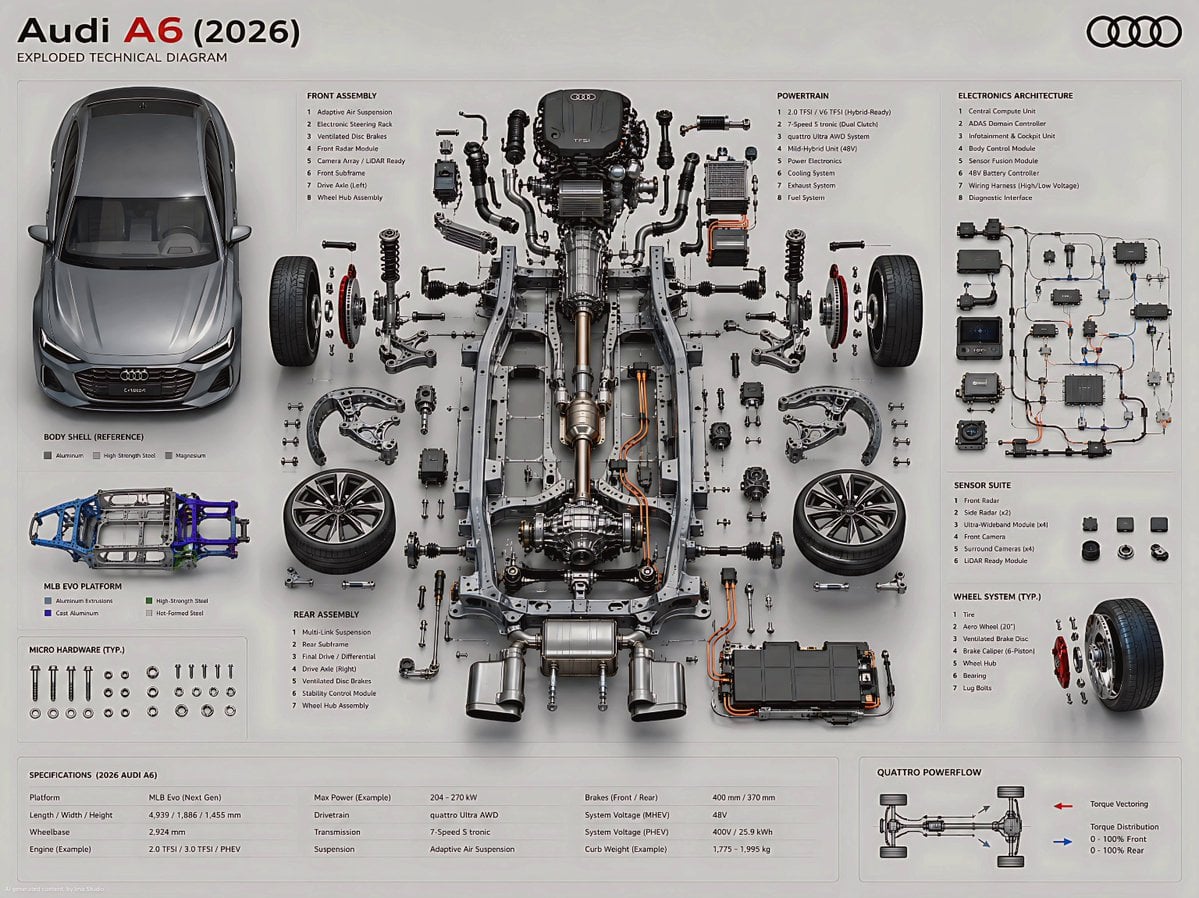 Audi A6 Exploded Diagram
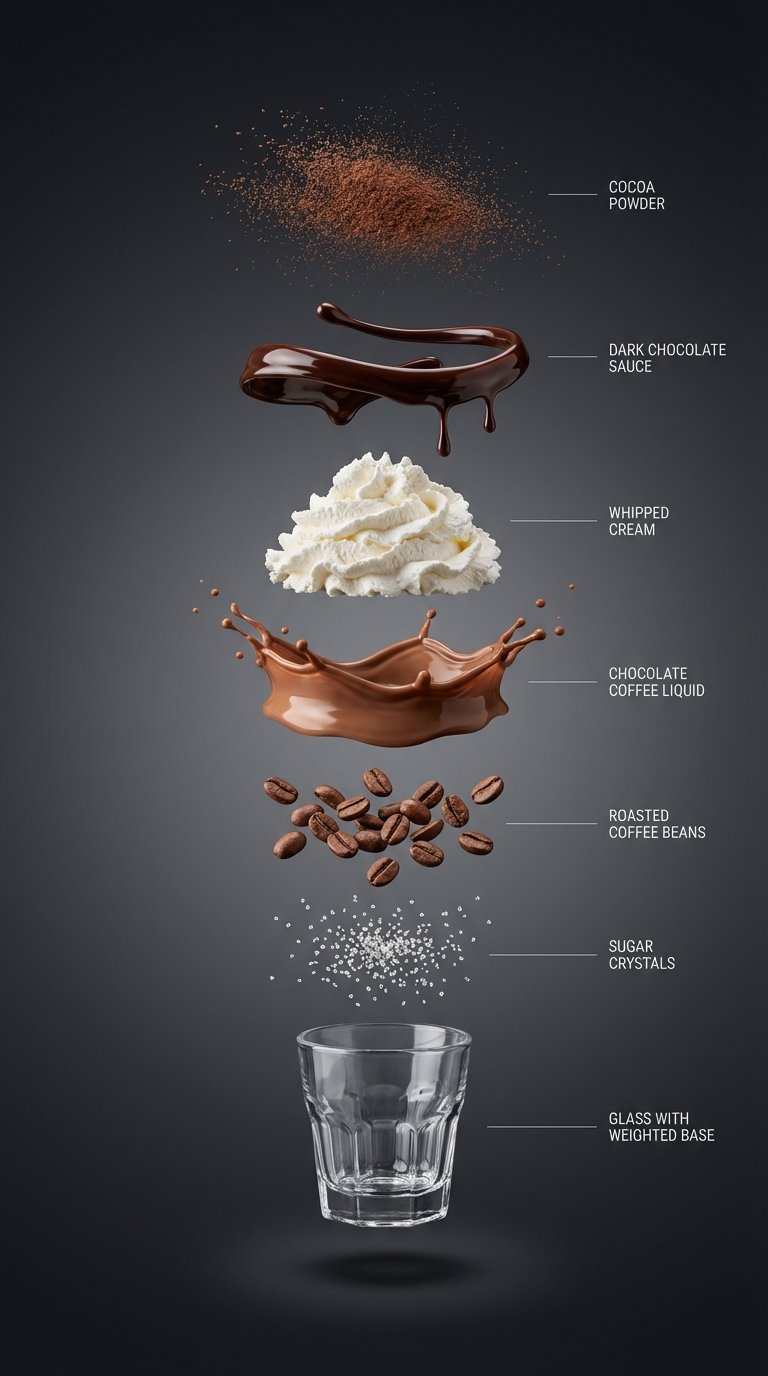 Chocolate Coffee Exploded View
 Eiffel Tower Cutaway Infographic
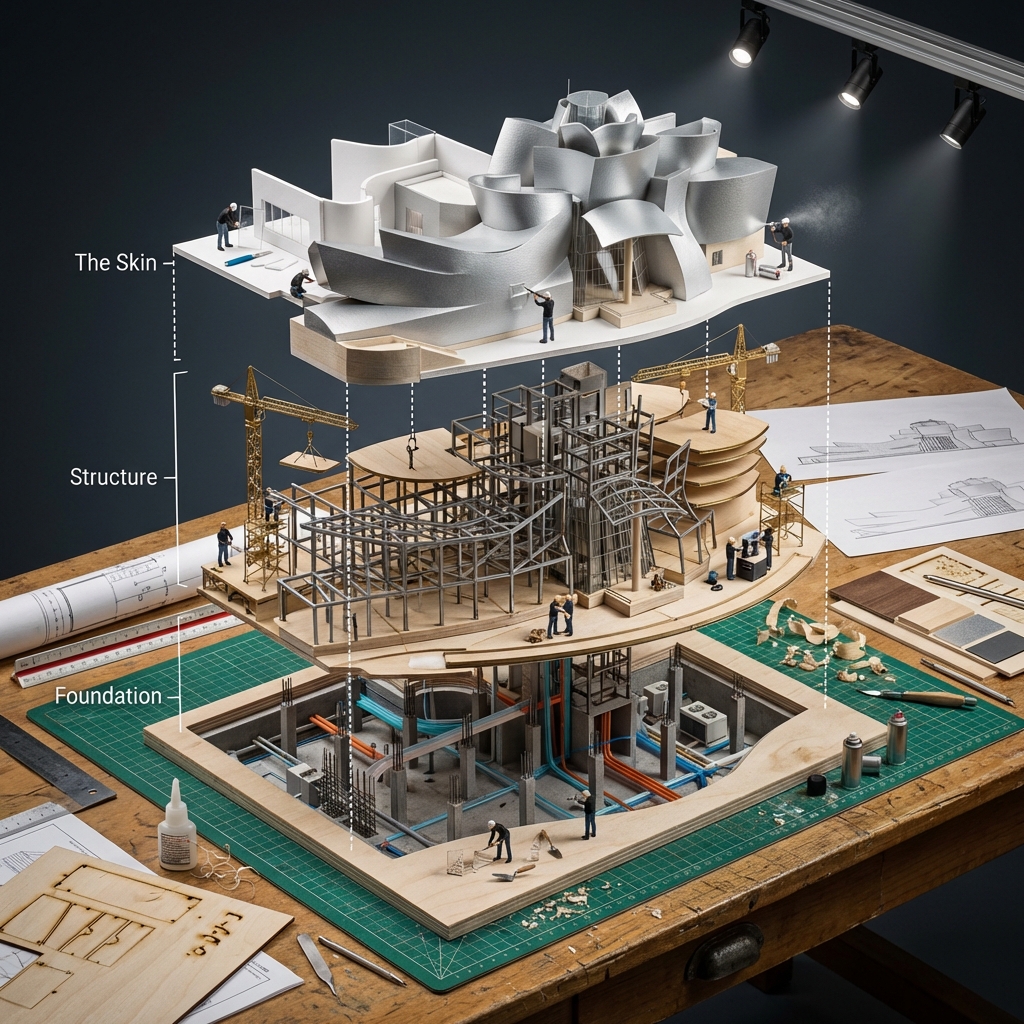 Exploded Building Diorama
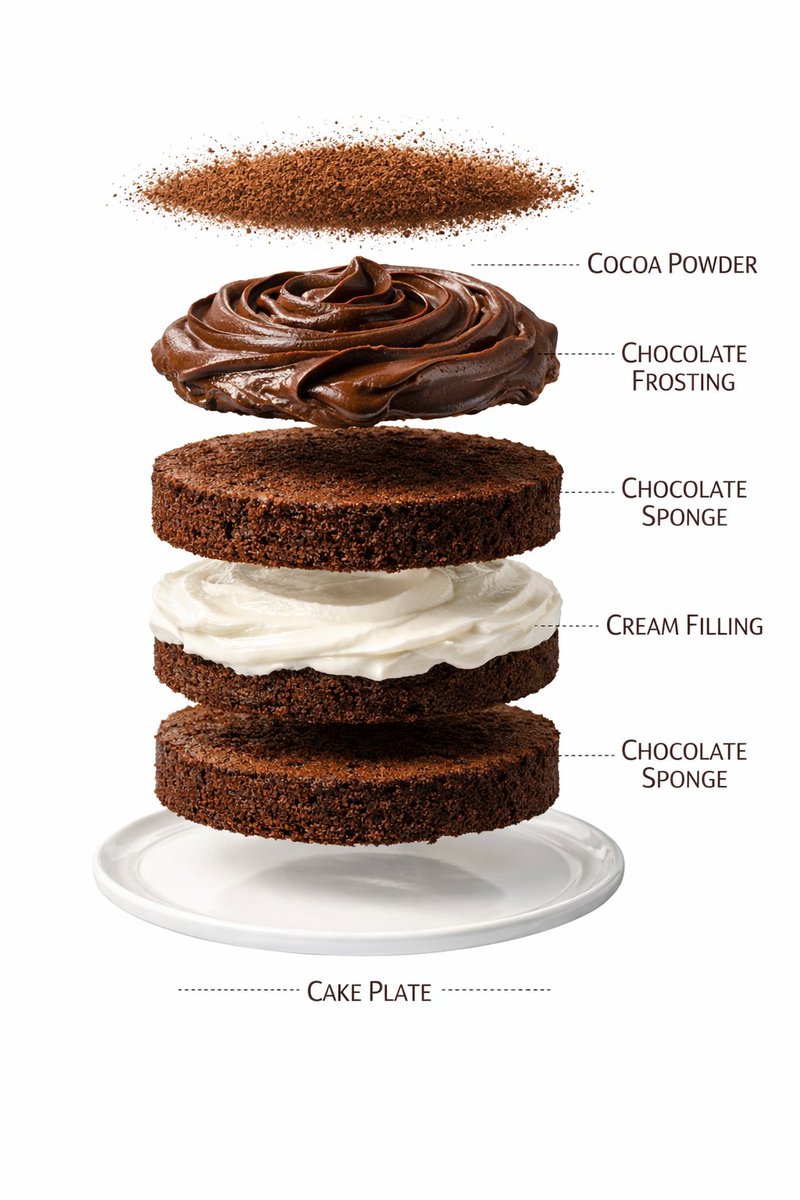 Exploded Chocolate Cake Infographic
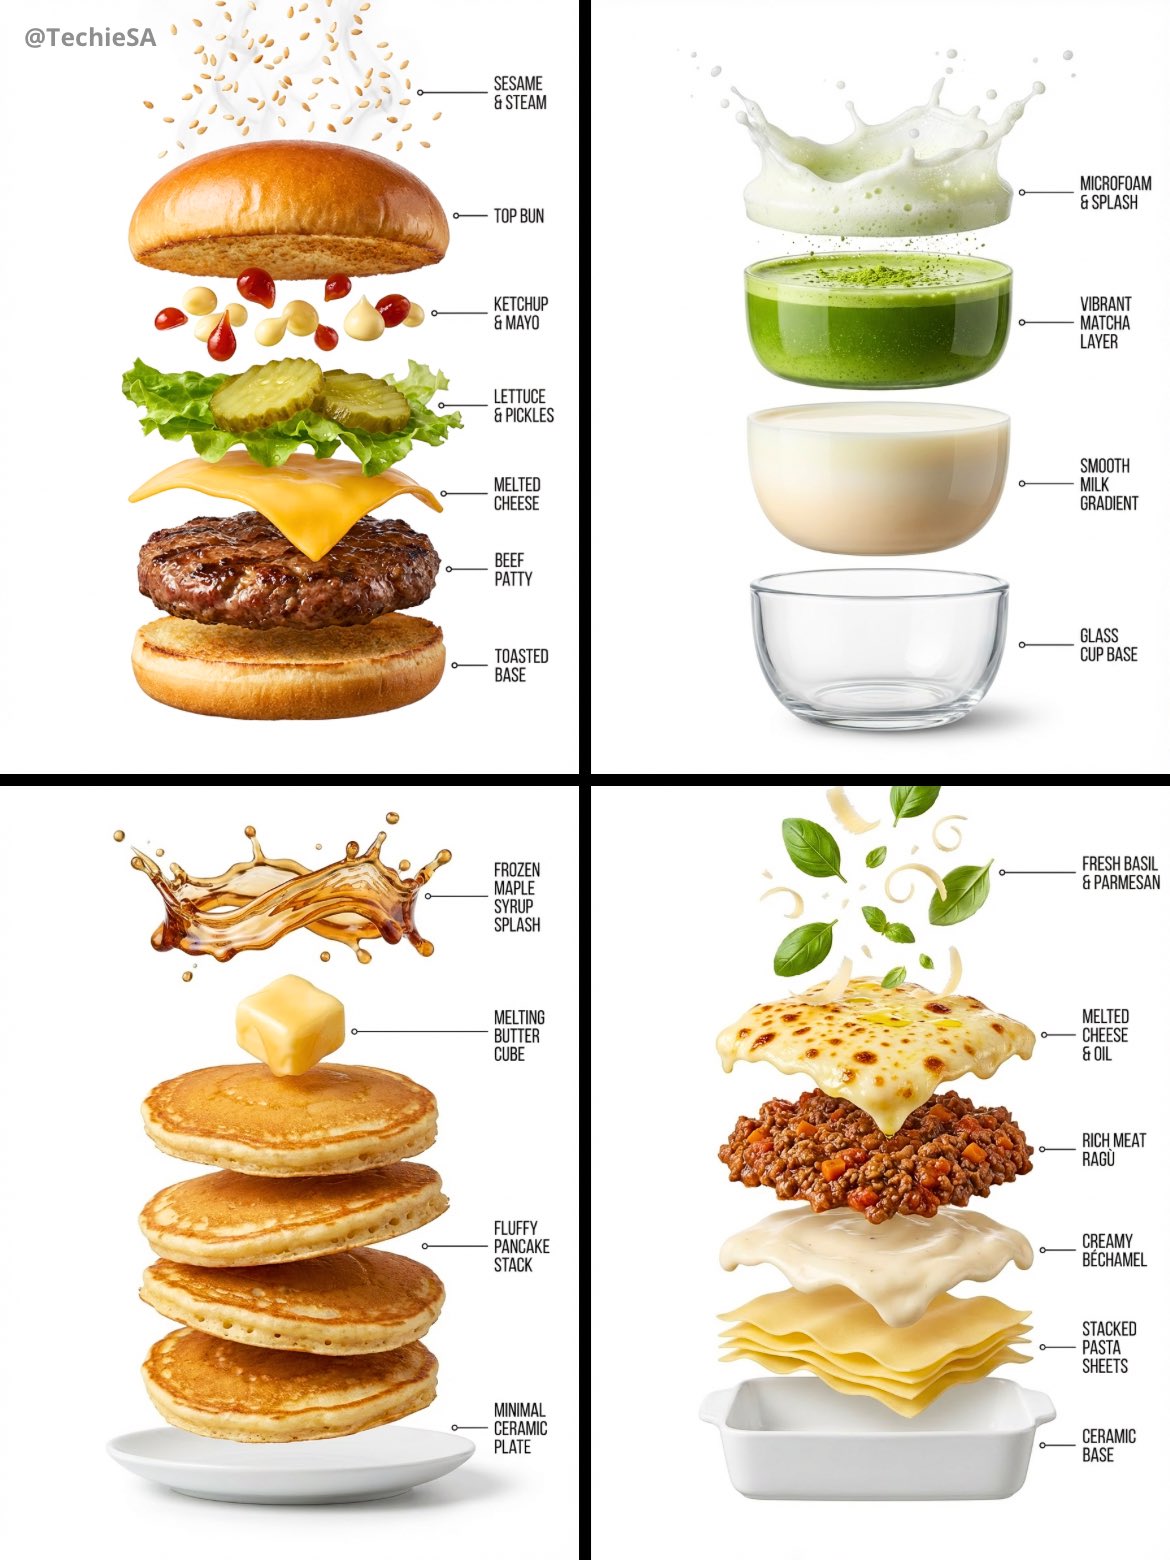 Exploded Food Infographic
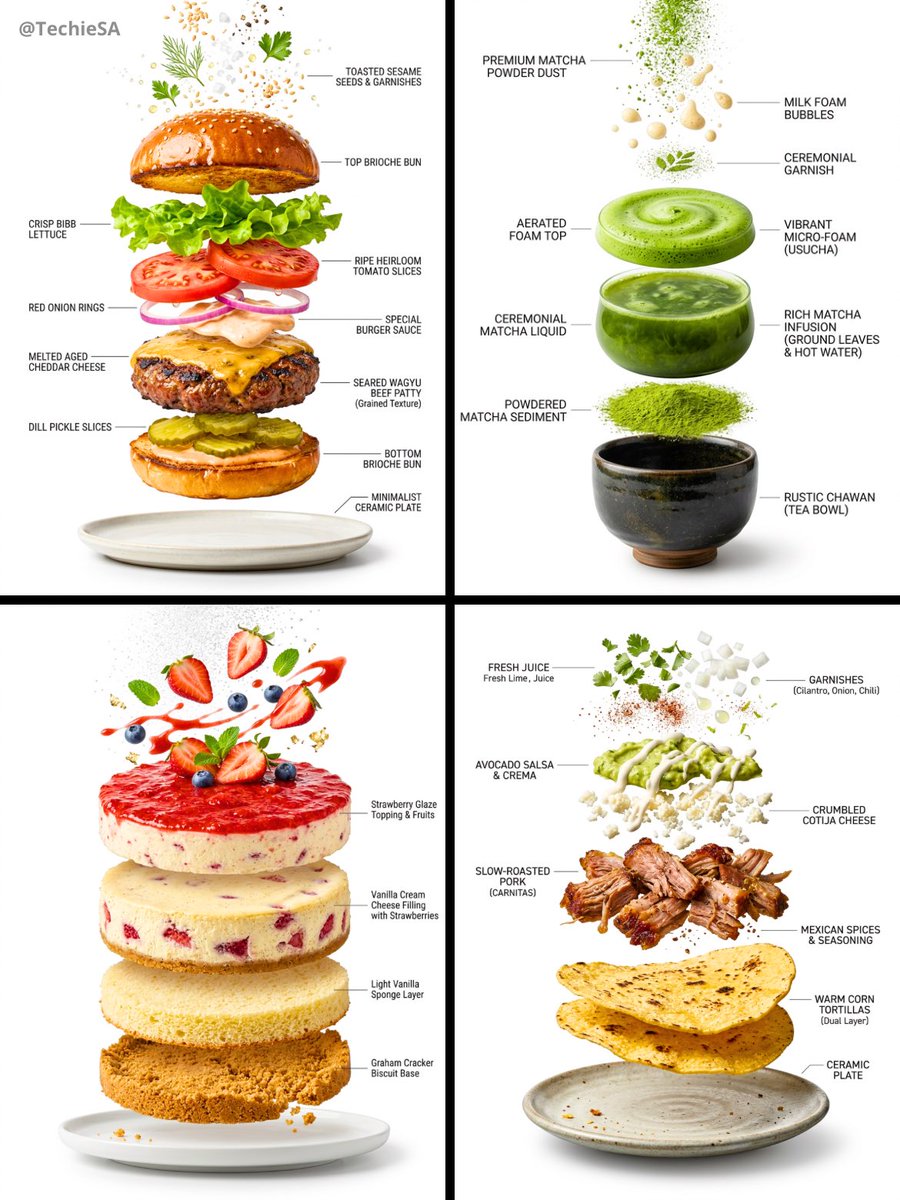 Exploded Food Infographic Set
 Exploded Indian Veg Curry Infographic
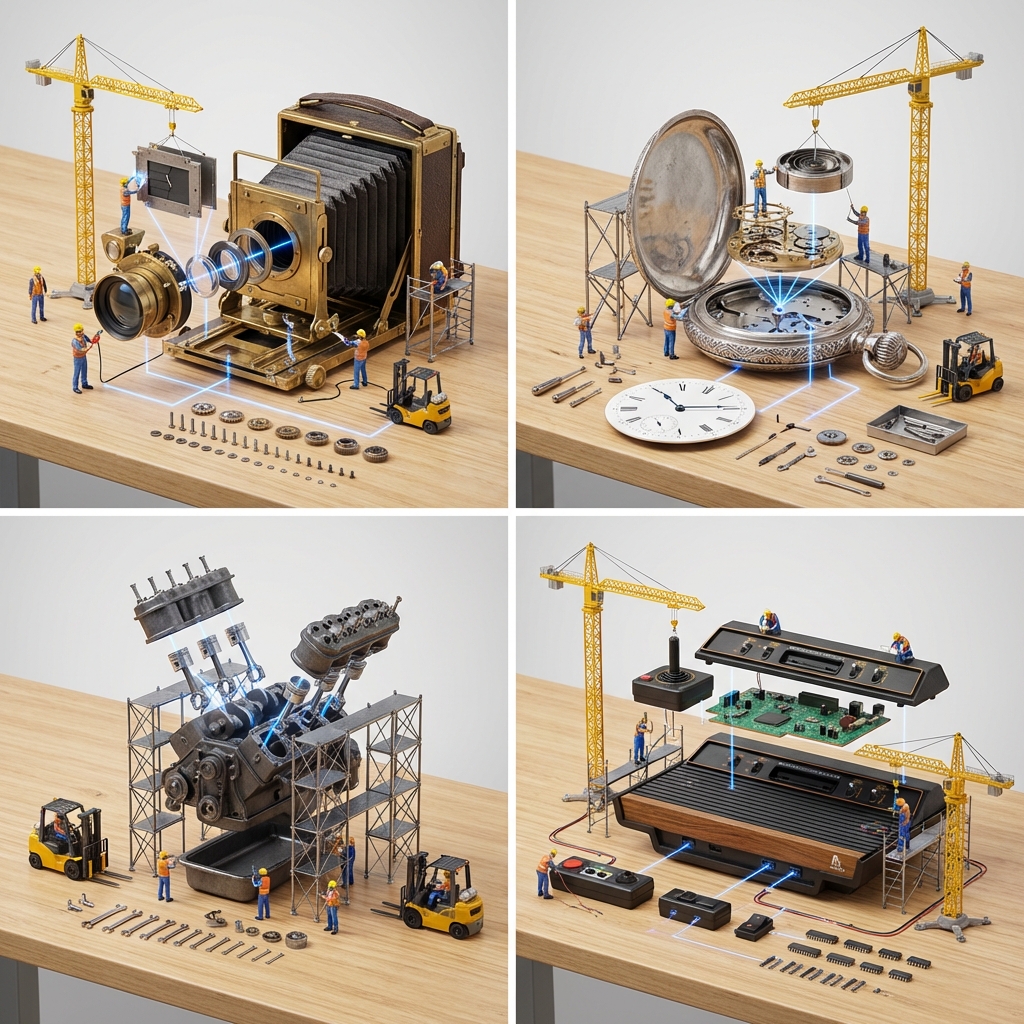 Exploded Mechanical Device Tabletop
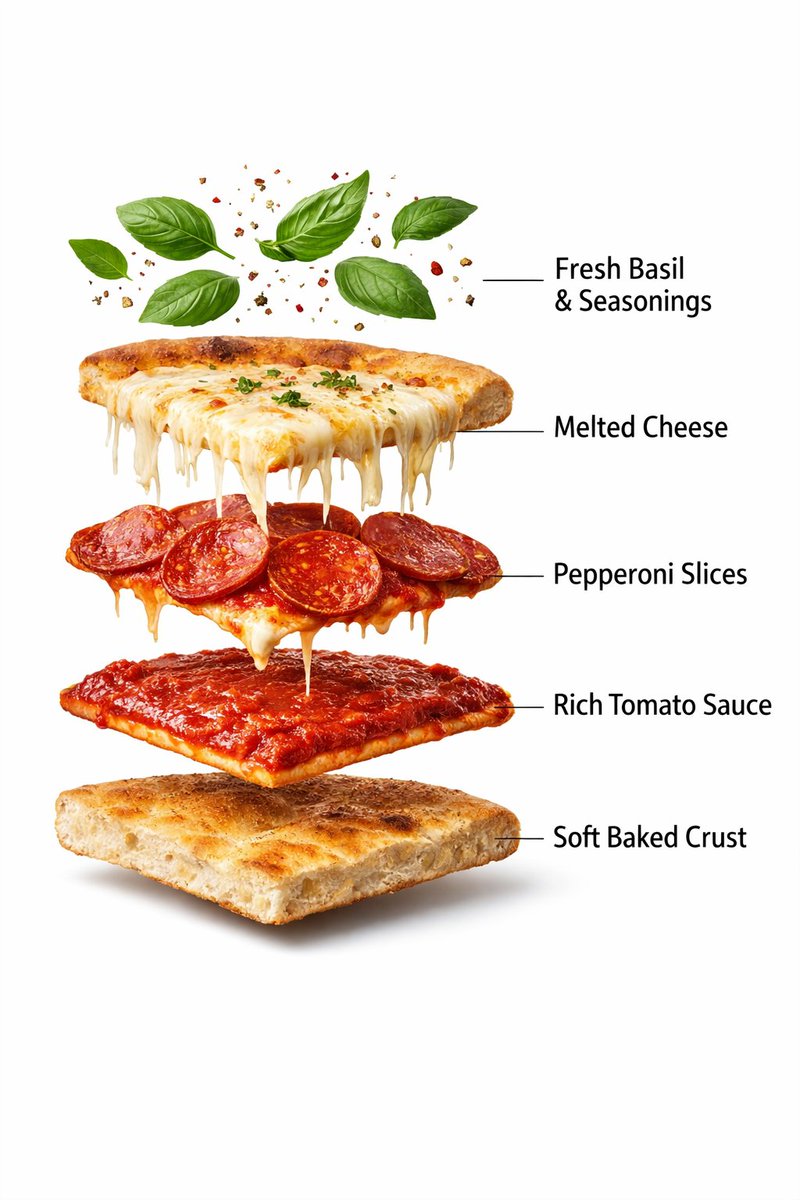 Exploded Pepperoni Pizza Diagram
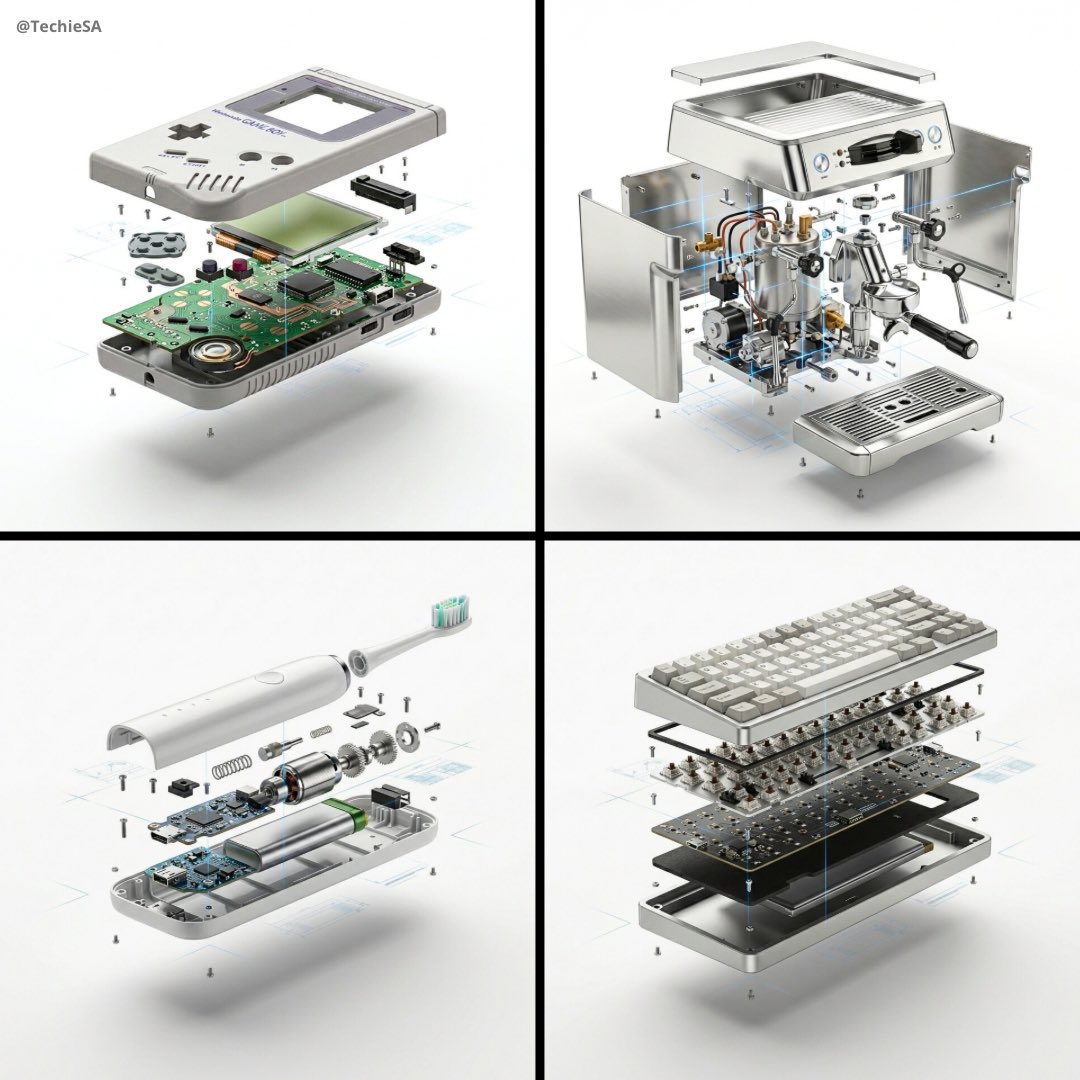 Exploded Product Ad Layout
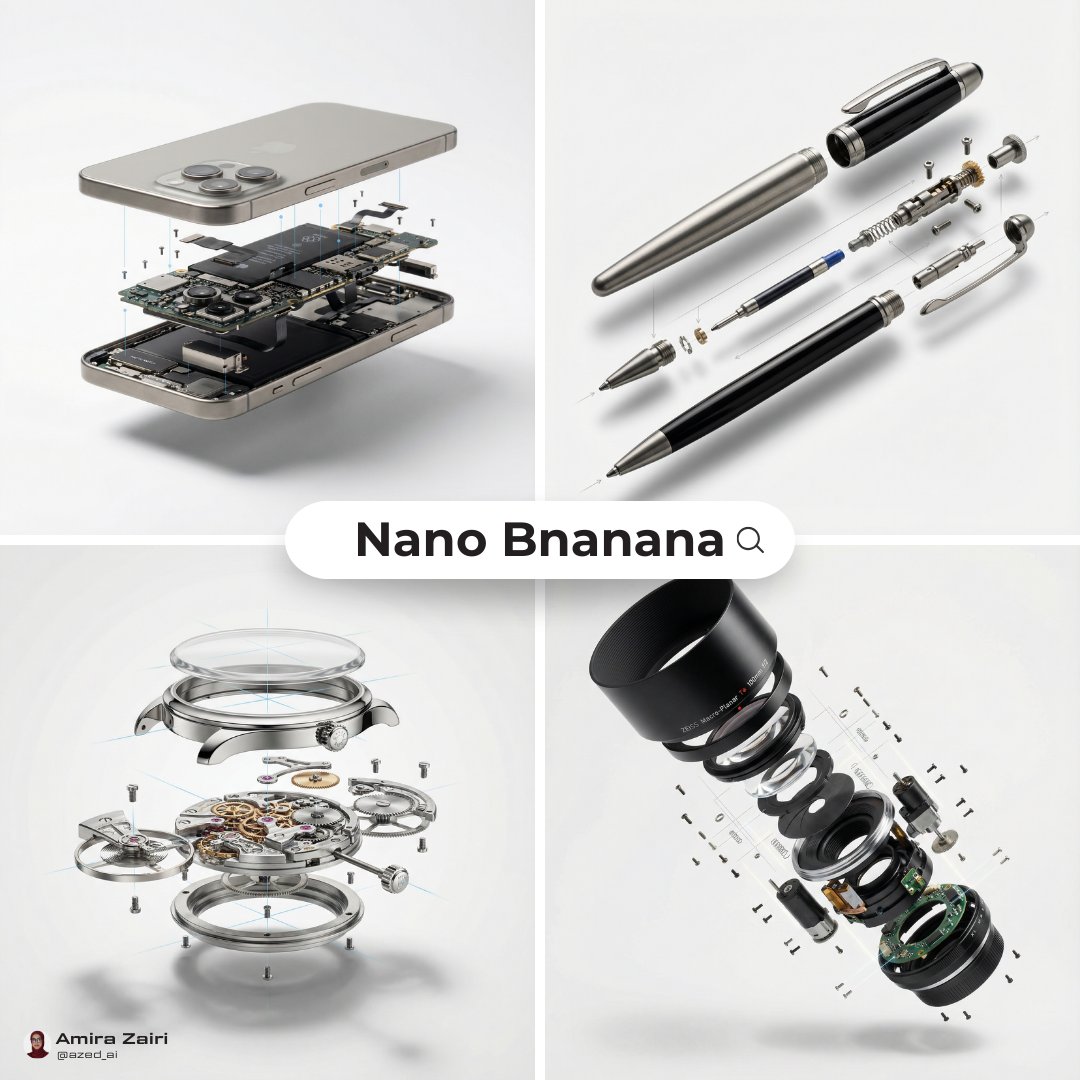 Exploded Product Mechanism Ad
 Exploded Ramen Infographic
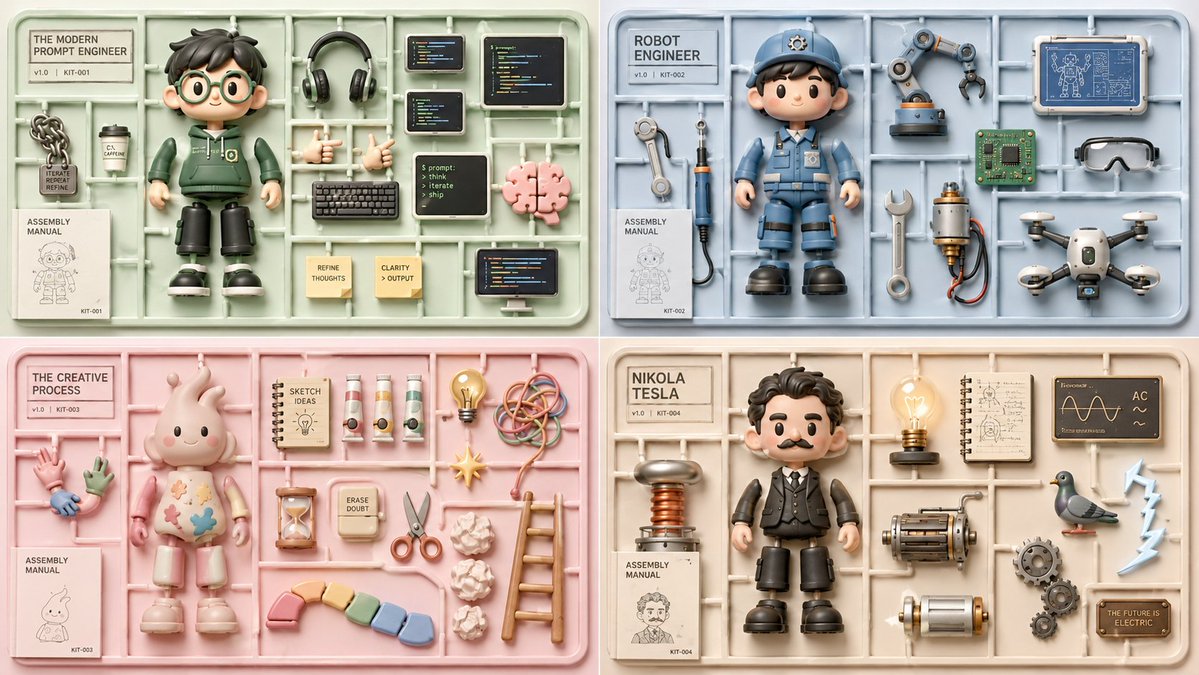 Exploded Toy Concept Kit
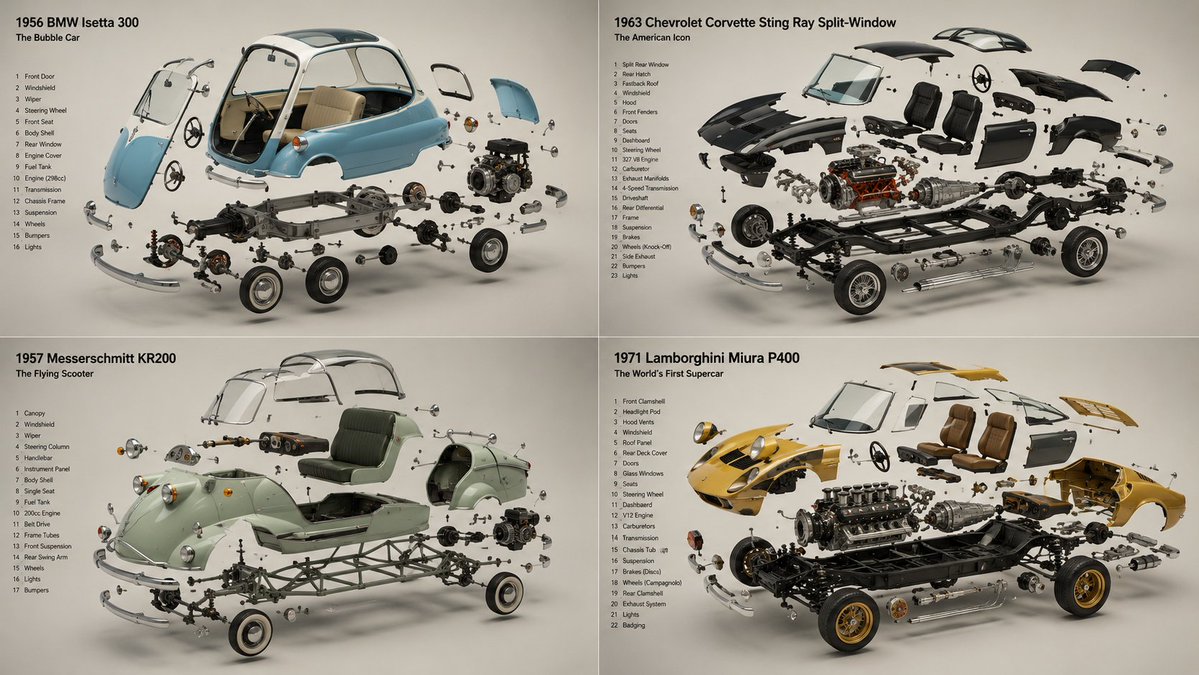 Exploded View Classic Cars Poster
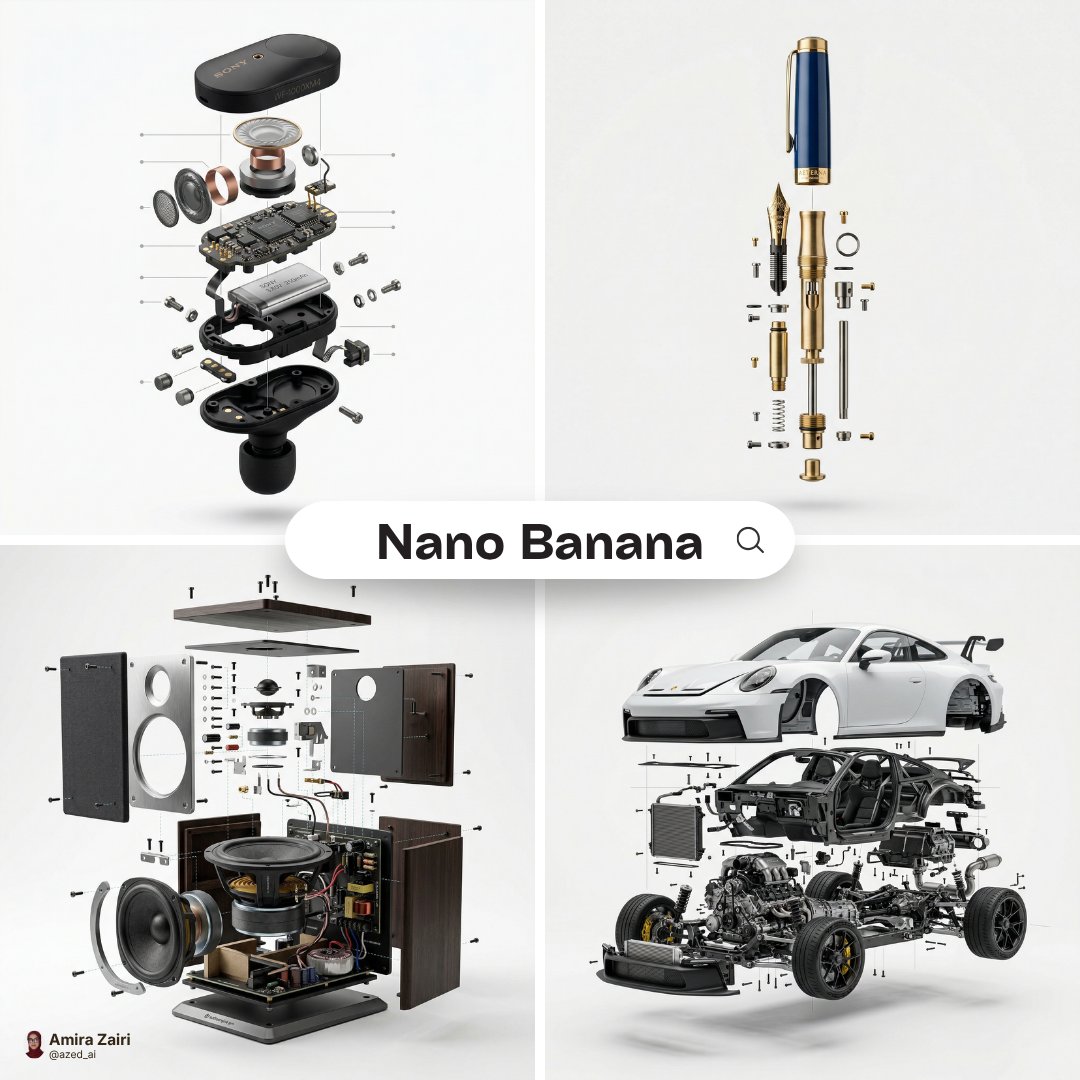 Exploded View Product Ad
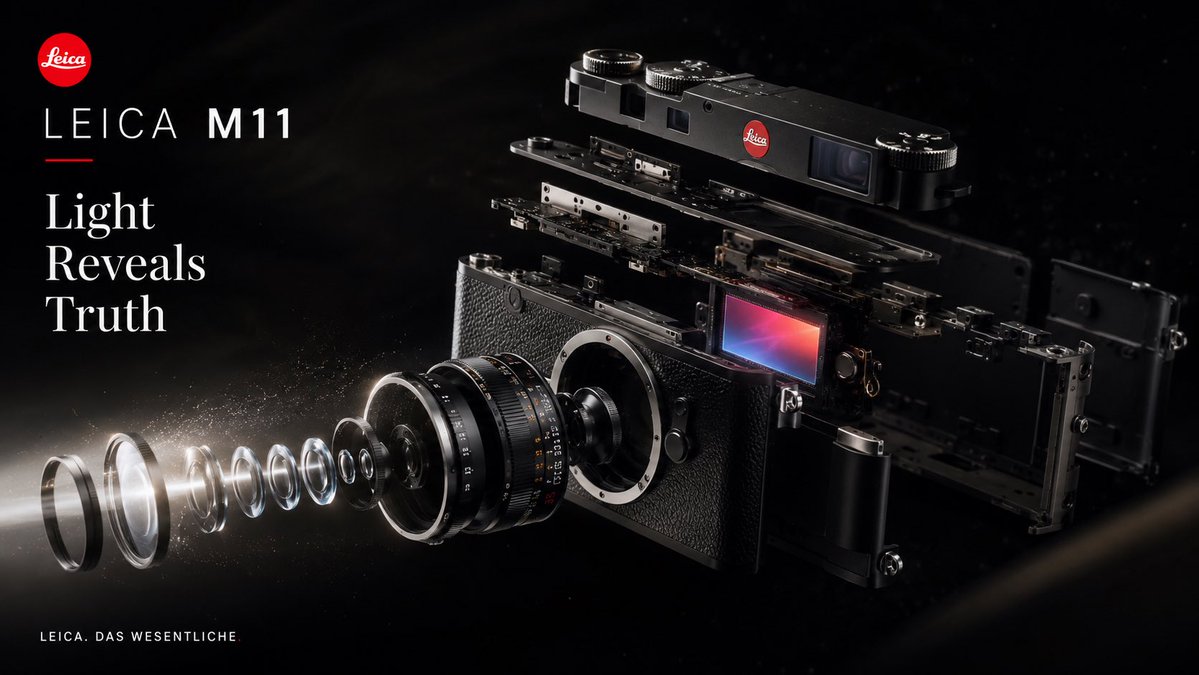 Exploded View Product Poster
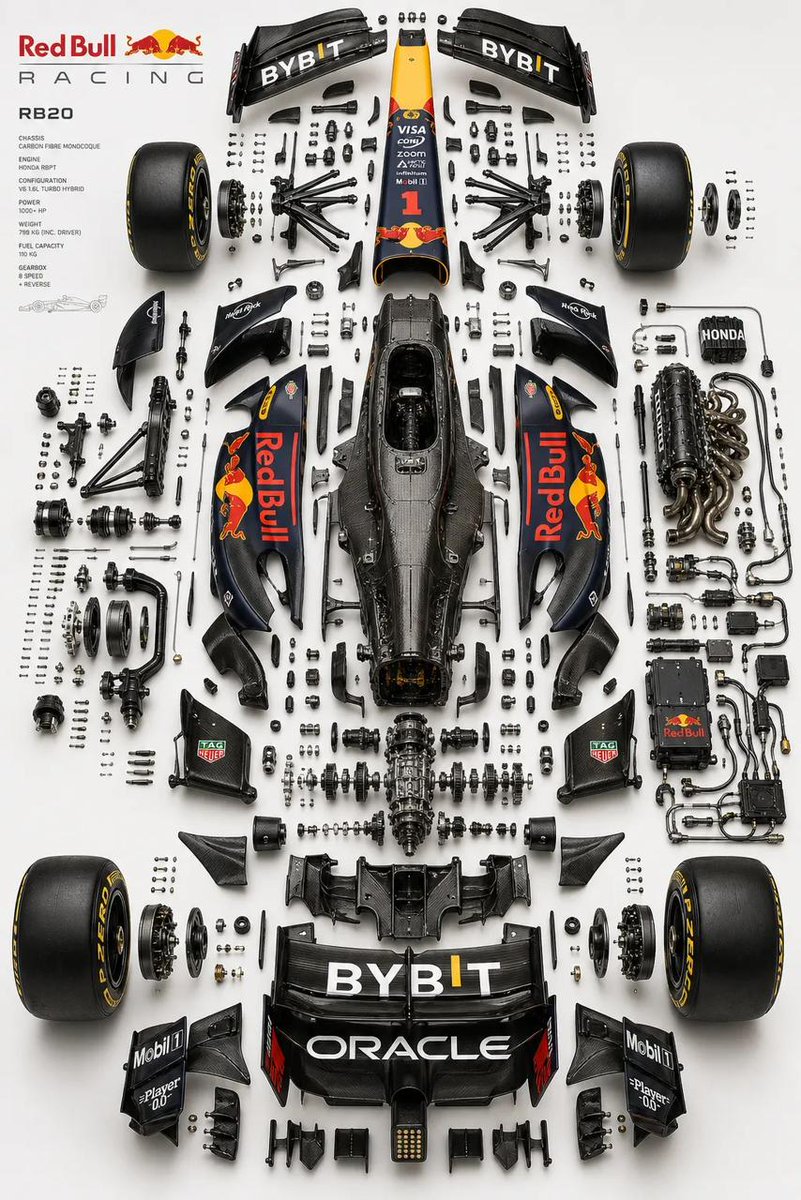 F1 Car Exploded Diagram
Define the parts and separation axis
Name the visible components and describe whether they should lift vertically, spread horizontally or separate along a diagonal. Keep the main shell recognizable so viewers can connect the separated pieces to the assembled object. Reference photos help establish the exterior geometry.
Use a simple visual hierarchy
The hero product should remain more prominent than the annotation system. Separate large assemblies before small screws and fittings, and keep leader lines from crossing key surfaces. A dark background can emphasize metal; a pale background is often easier for labels.
Check the object before presenting it
Generated internals may look plausible without matching a real mechanism. Review the component count, attachment points and part order against your own references. These images are suitable for visual explanations and concepts, not manufacturing instructions, CAD dimensions or validated assembly plans.
Common questions
- Can I use my product photo?
- Add your product image in the generator and describe the components that should appear. Include additional references when hidden parts matter; a single exterior photo cannot establish their actual construction.
- Does this create an animation or CAD file?
- It produces a still image. Animated assembly sequences, editable geometry and measured technical drawings require a separate workflow.